 Welcome to the first Panel of the Plymouth Yarn 5-Panel Blanket Crochet Along!
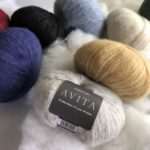
You’ve got your yarn together, so let’s start crocheting.
In case you are joining us later, start with the pattern introduction.
![]()
Gauge
As with any project, we’ll start by checking gauge. A gauge statement is given for each of the five panels. Chances are, if the gauge of Panel 1 matches the pattern, the gauge of the other panels will match as well.
However, it is always safer to make a gauge swatch for each individual stitch pattern.
How do I make a gauge swatch?
Take a look at the gauge statement for the first panel, then chain enough stitches to make at least a 6″ [15 cm] width. Follow the stitch pattern instructions for the first panel until you have a piece that is approximately 6″ [15 cm] tall. Stop and count the number of stitches and rows in 4″ [10 cm]. If you have too many stitches, start the process again with a larger hook. If you have too few stitches, try a smaller hook.
You’ll need to make the gauge swatch in the same stitch pattern as the panel you are working on, but here’s a general overview of how to measure gauge.
Why does gauge matter?
You may wonder why gauge matters at all, since this is a project that doesn’t have to fit a body. There are several reasons:
- The yarn amounts called for in the pattern are based on the sample gauge. If your gauge is different you might run out of yarn.
- Stitch counts for each panel are based on the gauge stated for that panel. If you don’t match the gauge, your panels will turn out different sizes. You may not care, and that’s OK!
- The fabric you create needs to be not too stiff, not too loose. It needs to be just right for this project. Matching gauge (in this same yarn) assures that you are getting a good fabric.
What if I don’t like the fabric I get with this gauge?
If you are using a different yarn, you may need to adjust your gauge to create a fabric you love. This will involve changing your stitch counts to create the size panel you want.
A Note for Left-Handed Crocheters
We haven’t forgotten about you! Text instructions are written for right-handed crocheters, with changes for left-handed crocheters {in brackets} as needed. Charts are optimized for right-handers, but you should be able to follow along without much problem. There is only one place where lefties will need to do something a bit different, but we’ll talk about that when we get there, too.
Abbreviations, Stitch Key & Stitch Definitions
You’ll need this information for every panel, so you’ll want to refer back to this post, or download and print the pdf pattern, which includes this information.

Panel 1
Finished Size
9″ [23 cm] wide x 57″ [145 cm] long
Gauge
14 sts and 9 rows = 4″ [10 cm] in pattern
Pattern Note
Allow treble crochet stitches to pop to the right side as you work.
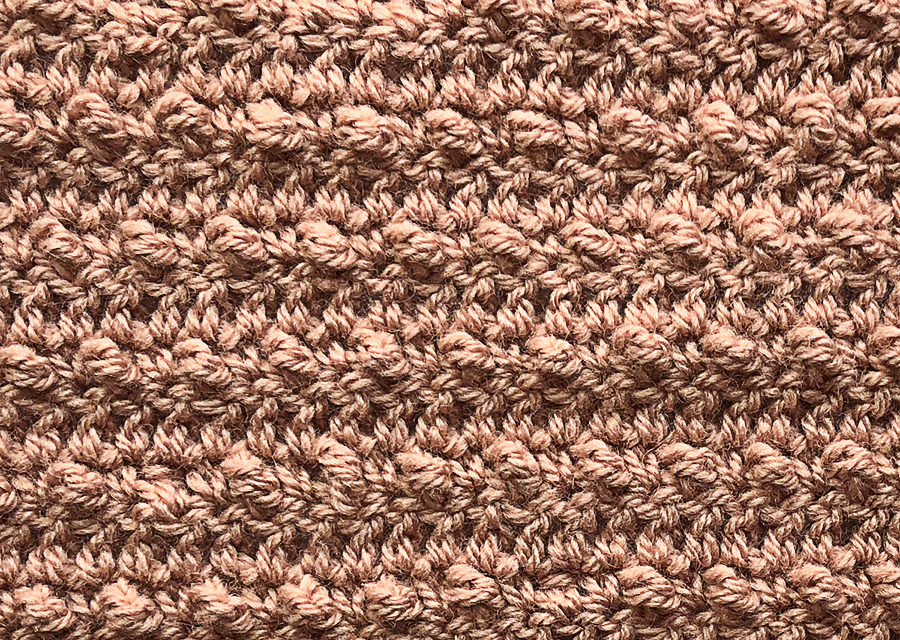
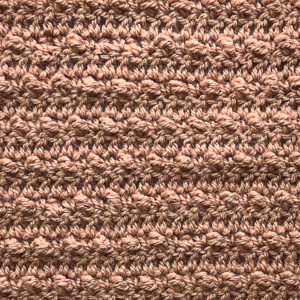
Texture Stitch

Worked over an odd number of sts.
Chain a multiple of 2.
Foundation Row (WS): Dc in 3rd ch from hook (skipped chs count as dc) and in each ch across, turn.
Row 1: Ch 1, sc in first st, *tr in next st, sc in next st; rep from * across, turn.
Row 2: Ch 2 (counts as dc throughout), dc in each st across, turn.
Row 3: Ch 1, sc in first 2 sts, *tr in next st, sc in next st; rep from * to last st, sc in last st, turn.
Row 4: Repeat Row 2.
Repeat Rows 1-4 for pattern.
Instructions
With A, ch 32.
Foundation Row (WS): Dc in 3rd ch from hook (skipped chs count as dc) and in each ch across, turn—31 dc.
Beginning with Row 1, work in Texture Stitch pattern until piece measures 57″ [145 cm] from beginning, ending with a WS row.
Fasten off. Weave in ends, except the final tail.
That’s it! Work on Panel 1, and join me back here for Panel 2.
Leave your questions and comments below.

Finished up the gauge swatch and my width is fine but I’m averaging 10 rows for the 4 inches instead of 9. For a smaller piece I’d let it go but with a strip that long I’ll be several inches short.
Am I better off just crocheting extra rows or going with a wider strip to get row gauge?
You’ll have a chance to adjust the length of the panels before we finish, so I would just go with the correct stitch gauge. Keep in mind that that might mean you need additional yarn.
Thanks, I can order some extra yarn now so that I’ll have a good chance at the same dye lot.
I did do an additional swatch with a 5.5 mm hook and the row was correct but the width was too wide. Also I like the 5 mm hook fabric better so I’ll stick with that
I have started panel two but I can’t make the carried yarn look right. Do you have a video showing how to change colors and carry the yarn.
Thanks
Wanda
The Panel 2 post should now be up, and there are videos there that discuss the stitch pattern in more detail. The pdf version should also have links to the stitch pattern video.
Can you please make a video showing panel one?
Sorry-that got left off the blog post. I’m having it added, but for now you can go directly to YouTube to watch: https://youtu.be/o7h9yajMMG4
This stitch is simply beautiful! Love it! Thank you, Edie!
Thanks, Deborah! There are more to come. 😉