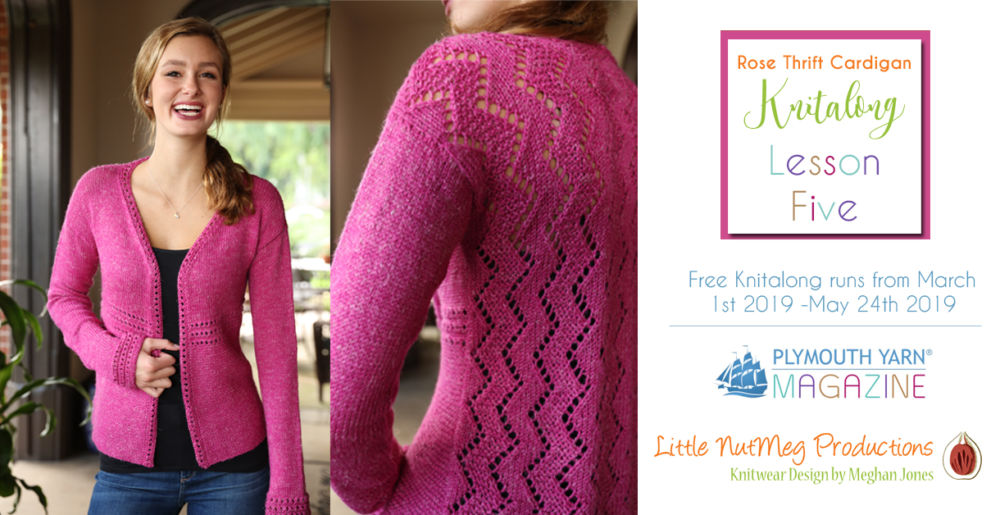
Rose Thrift KAL
Welcome to the Rose Thrift Cardigan Knit-along
Hosted by Plymouth Yarn Company and Meghan Jones of Little NutMeg Productions.
Join me (Meghan) as we work through every step of the gorgeous Rose Thrift Cardigan from planning to finishing and make yourself (or a friend) a spectacular knitted cardi!
In the First Lesson, we took a look at the schematic, chose what size to knit based on measurements and talked about easy adjustments that could be made with needle sizes. If you missed that lesson, check it out here!
In the Second Lesson, we really delved into sizing for the fronts including changing needle sizes and possibly even changing the stitch counts, as well as where to place the eyelet band and working the garter stitch rows from the blocked swatch. If you missed that lesson check it out here!
In the Third Lesson we blocked the fronts and the back, and then calculated joining rows to seam the differing stitch counts on the front shoulders to the back shoulders. If you missed that lesson, check it out here!
In the Fourth Lesson we calculated how to adjust the sleeve length and/or the circumference if needed, we also learned how to do some math for a perfect pickup row. If you missed that lesson, check it out here!
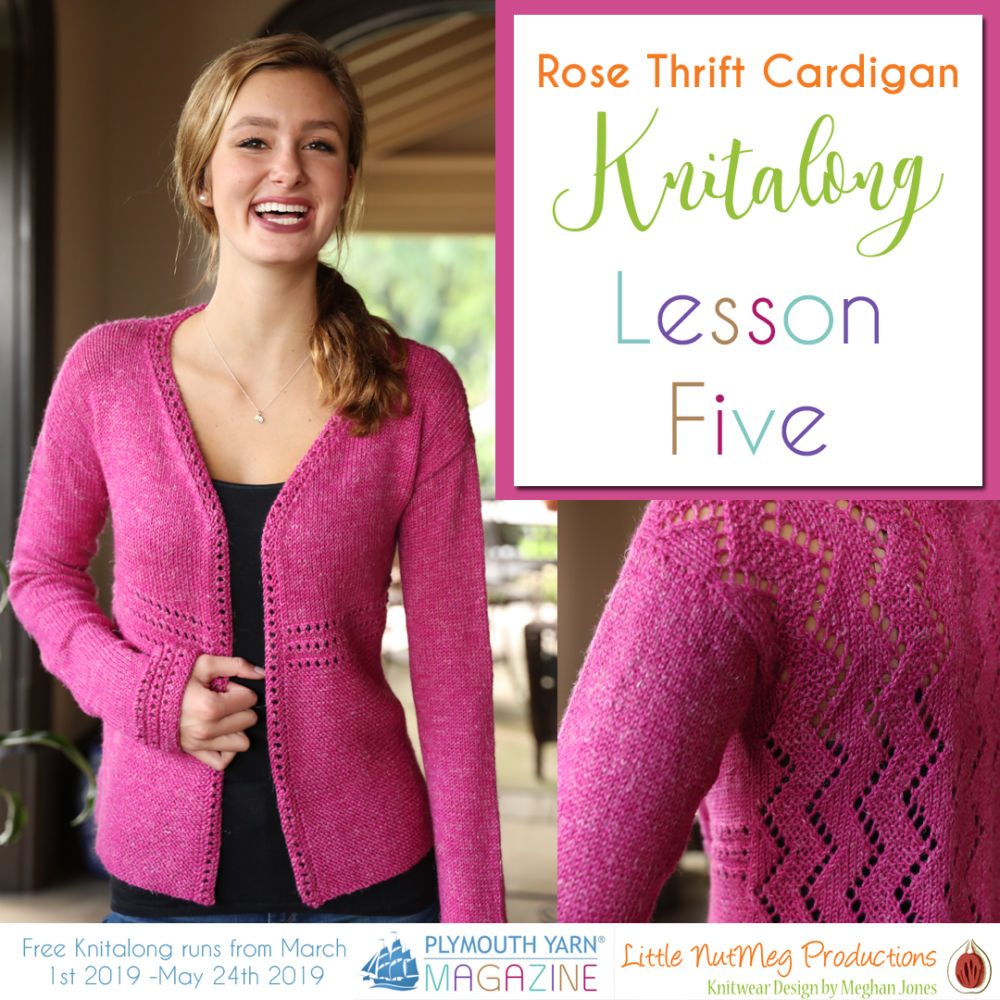
Lesson 5
For this lesson we will double check the stitch count pickups for the front band, and which bind offs are the best to use for your cardigan. I also have some alternate design tips if you are interested in changing the look of the collar!

Front Band
Many cardigan patterns call for stitches to be picked up the front opening and around the back neck of the garment, Rose Thrift is exactly this kind of pattern. The number of stitches that are provided in the pickup instructions is based on the recommended lengths of the front opening edge and the back neck width. If you have used all the recommended measurements and your gauge matches the stated gauge you can absolutely use the stitch counts noted for your size.
If you are like me and you have made changes to the garment measurements you will want to adjust the number of stitches that are to be picked up for the front band so you have a perfect fit. Changes that will necessitate the altering of stitch counts are:
- Any length changes to the bottom body
- Any short rows added to the fronts
- Any length changes to the armhole depth
- Any needle size changes to the upper back
It helps if you have written down any alterations that were made when knitting.
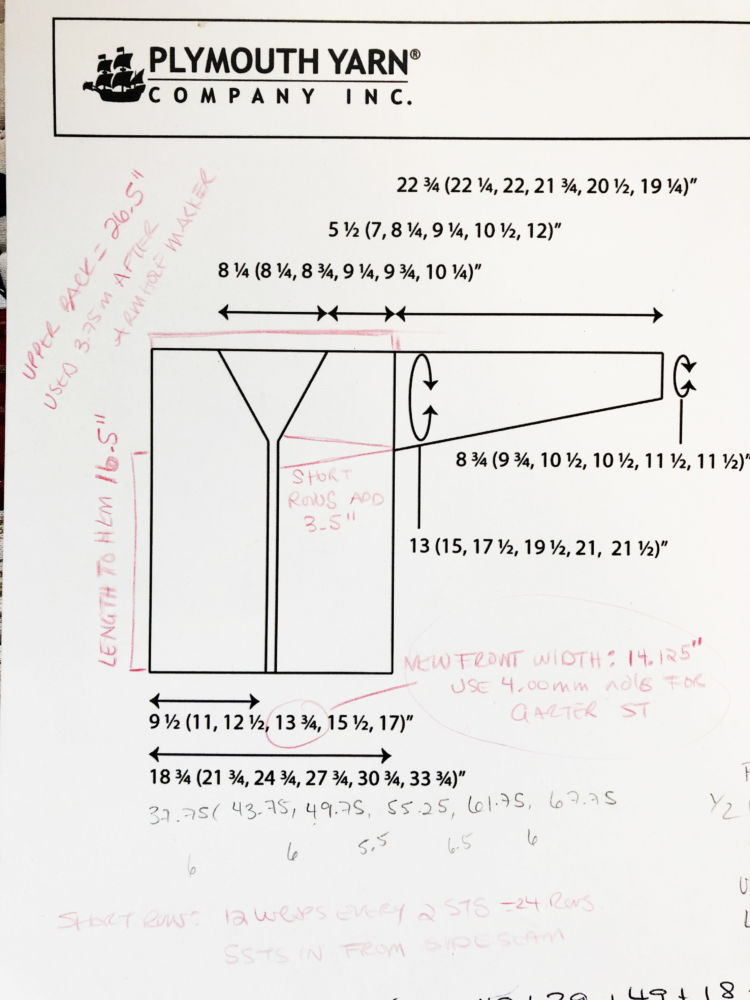
Changing the Numbers for the Hem to Front Marker
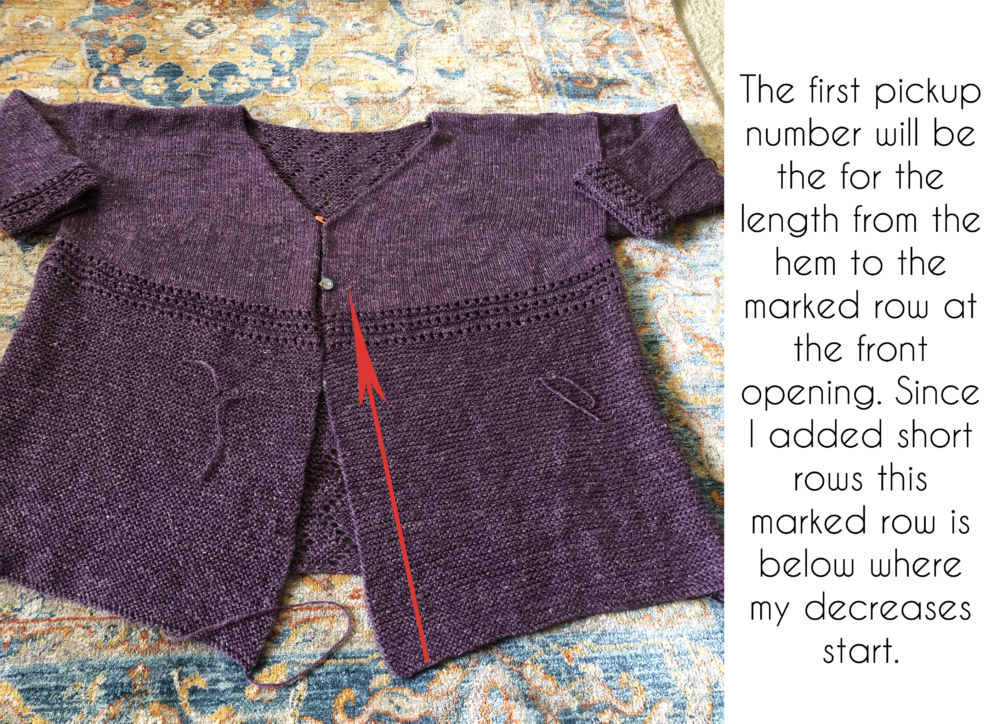
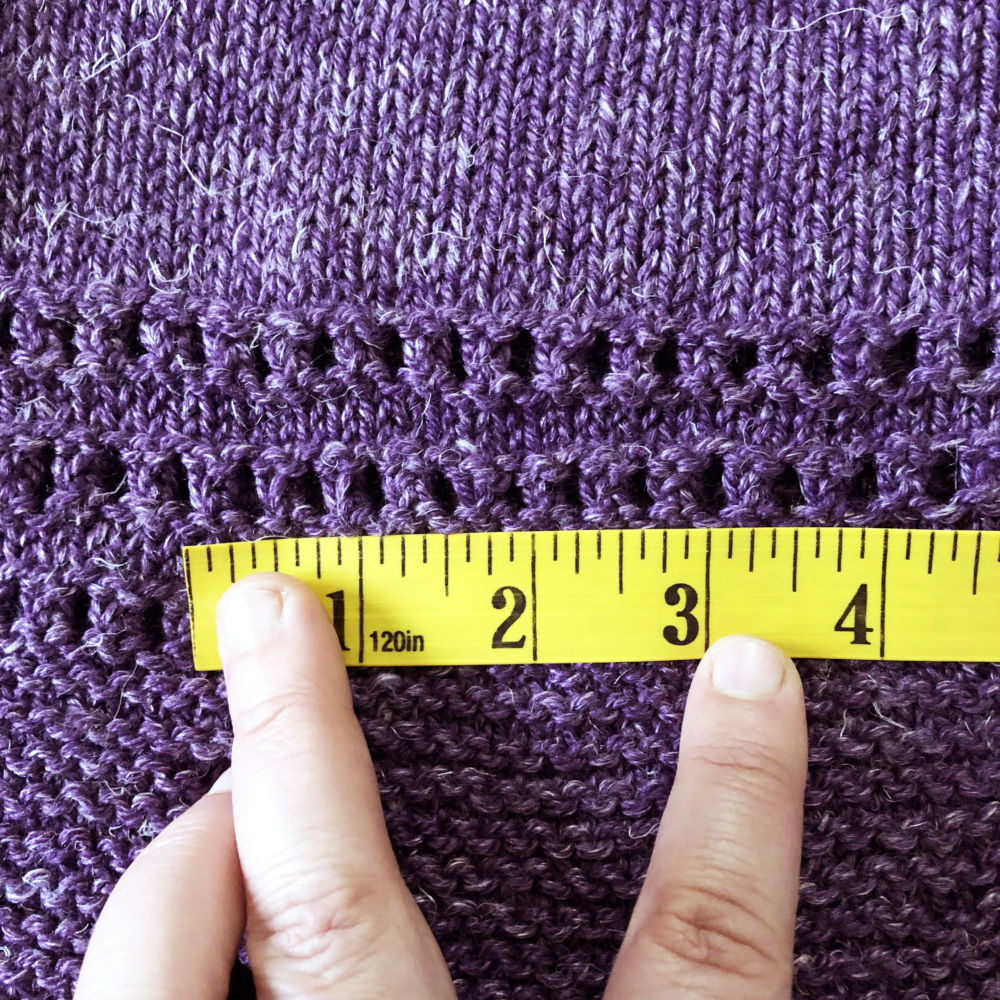
We will start with changing the stitch count from the hem to the marked row at the front opening. The written pattern assumes that the gauge for the eyelet pattern on smaller needles is the same as the gauge for stockinette on the larger needles. You can double check that this gauge works for you by measuring how many stitches are in 4 inches over the eyelet pattern you worked on the fronts, divide it by 4 for the stitches per inch measurement. I will be using 5 stitches per inch for my gauge on the eyelet band.
- Take the length measurement from the hem to the marked row at the opening: for me, that number is 16”
- Multiply it by the stitches per inch; 16 x 5 = 80
Note: Technically the band stitch pattern is a multiple of 2 stitches + 1, but we will address this after we get all the numbers for all the sections.
Adding in Any Short Rows
Did you add any short rows? Those will affect the length of the fronts at the opening;
- Take the total number of short rows added; I used 24 rows
- Divide it by the rows per inch of your gauge; 24 / 6.5 rows per inch = 3.69 inches
- Multiply this number by your band stitches per inch; 3.69 x 5 = 18.45 stitches (this is less than half so let’s round down) = 18 stitches

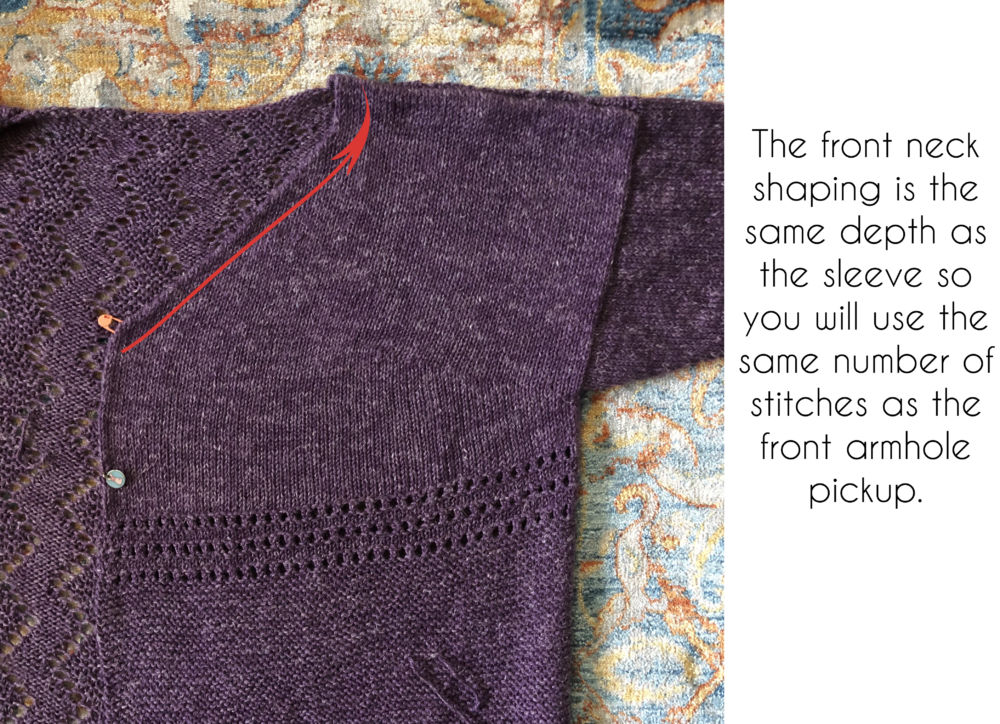
Front Neck Shaping Pickup Numbers
Now take the armhole depth you used and multiply it by the stitch count;
- My armhole is 9.75 inches x 5 stitches per inch = 48.75 (this is more than half so let’s round up) 49
Note: you may notice that this is the same stitch pickup as half the sleeve pickup, this is because the length of the front neck shaping and the armhole depth are the same. This also means that you can use the same rate of pickup for this area as you did on the sleeves.
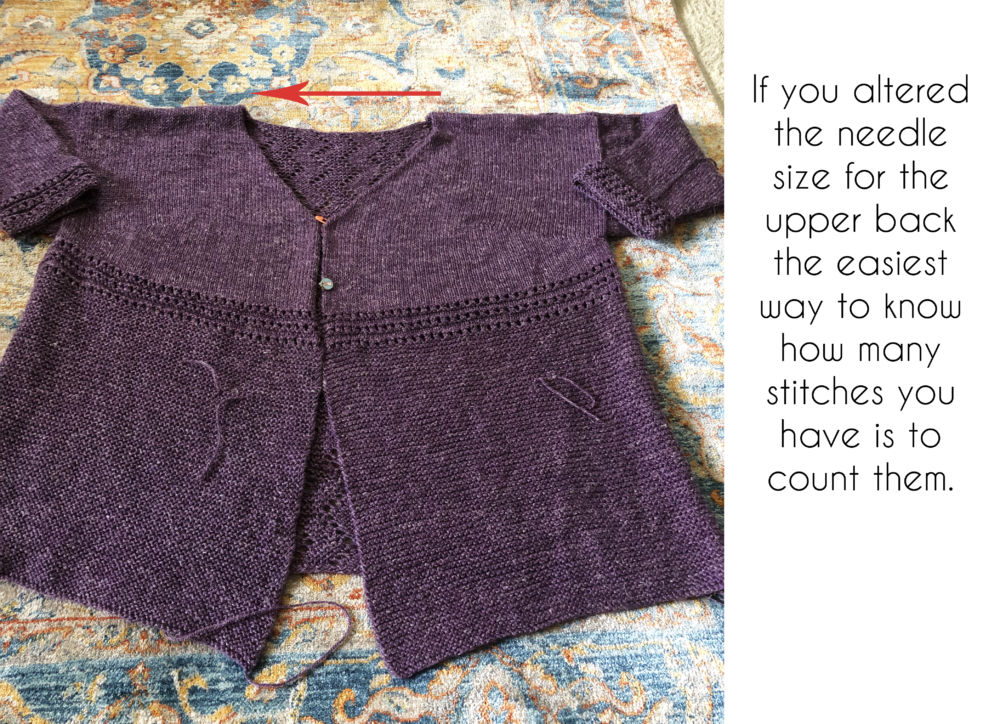
Back Neck Pickup Numbers
If you changed the needle size for the upper back you may need to pickup a few less stitches for the back neck than the pattern indicates. The easiest way to check this is to count them;
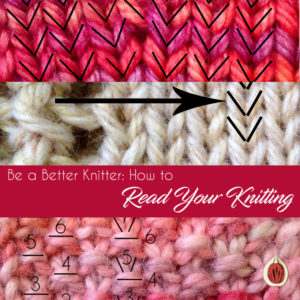
- Beginning from right to left count each ‘V’ you can see along the back neck bind off; for me this number is 39
Note: This is 4 less than the pattern indicates, you may recall I had calculated that my neck would be about ½ inch narrower than the schematic on either side of the opening due to using a smaller needle size. 4 stitches is right on with ‘approx’ 1 inch narrower neck overall.
If you need a refresher on how to read your knitting to count stitches check out this post here:
Adding Them All Up!
Now, remembering that we pickup stitches with the right-side of the work facing and beginning at the right front hem we will make ourselves a pickup row that fits the exact length of the cardigan. Write down in order your;
- Hem to Marked Row + Added Short Rows + Front Shaping Length + Back Neck + Front Shaping Length + Added Short Rows + Marked Row to Hem.
- For me this looks like; 80 + 18 + 49 + 39 + 49 + 18 + 80 = 333
- Double check that this number will work with the stitch multiple of 2 sts + 1; minus 1 stitch from your total count, and then divide it by 2. If you get a whole number then you are done! If you get a partial number, remove 1 stitch from the back neck number and try again.
- 333 – 1 = 332 / 2 = 166 – Yay! Mine work out perfect!
Picking up the stitches
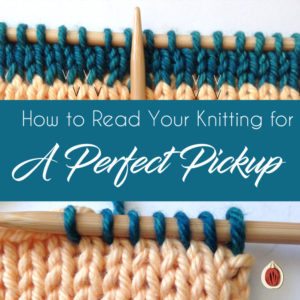
You can count the rows and calculate the perfect pickup for all the length sections just like we did in Lesson 4 for the sleeve pickup. See that lesson here.
If you need a refresher on how to read your knitting for a perfect pickup along the back neck see this post.
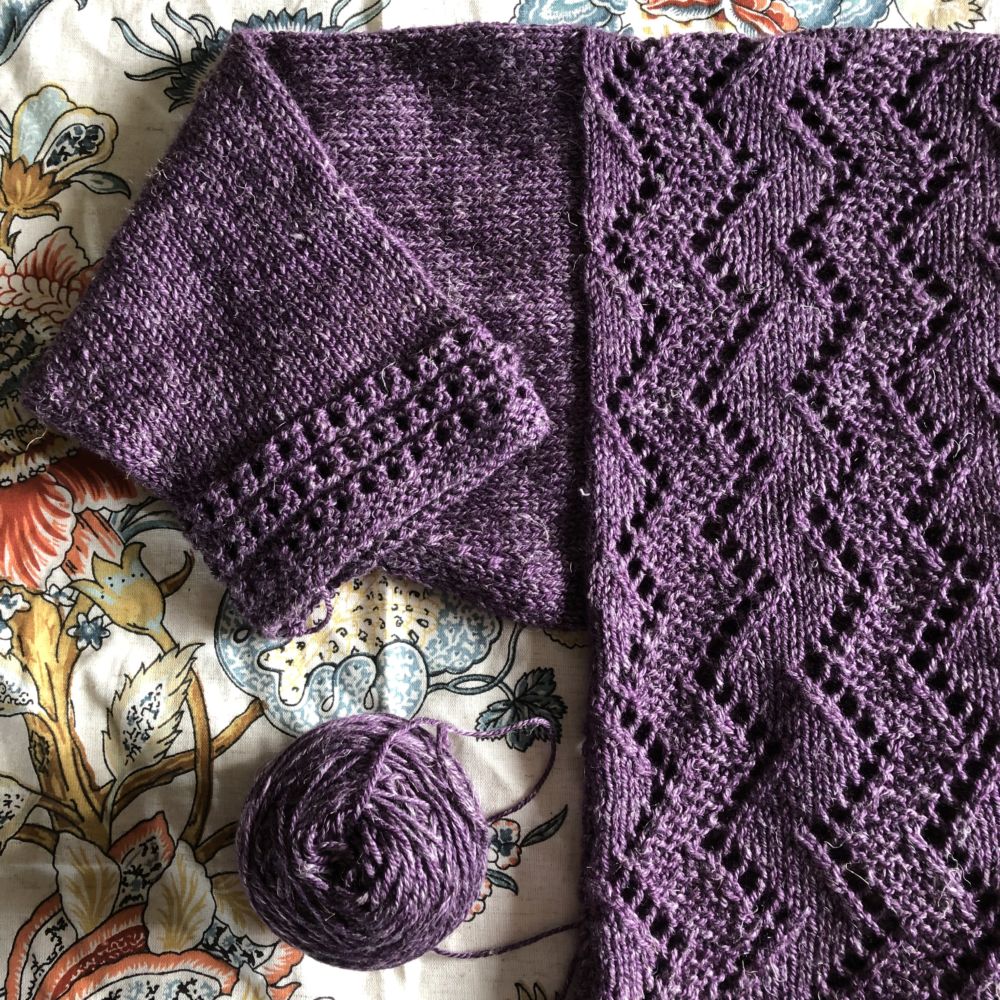
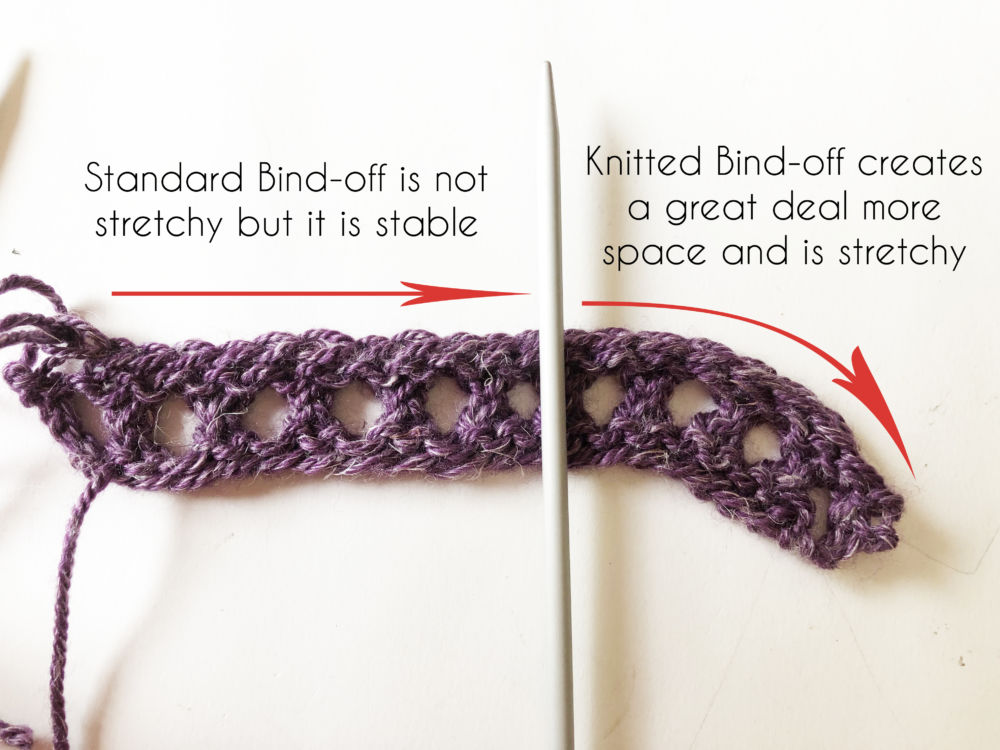
Binding Off
Once you’ve worked the 7 Band Rows you will be ready to bind off all the stitches on the wrong-side row, this means it is time to choose a bind off that is right for you, the garment and the fiber you are working with. Since the band goes all the way around the front opening of the cardigan and around the back neck you need something stable, but not too tight. If you’ve ever worn a hat or neckband with a too tight bind off you know how uncomfortable it can be having that line of tight stitches sitting against your skin. You definitely don’t want that on the back of your neck! Tight knitters may want to try the Knitted Method bind off, while average tension knitters might simply want to use a standard bind off with a larger needle.
Knitted Bind off Method
If you tend to knit tightly and always need to use at least one size larger needle (if not two sizes larger) then this bind off is for you! It can really streeeeeeetch out so make sure to work it with the same size needle as the band (or even a smaller needle, crazy right?) and don’t worry about loosening your tension.
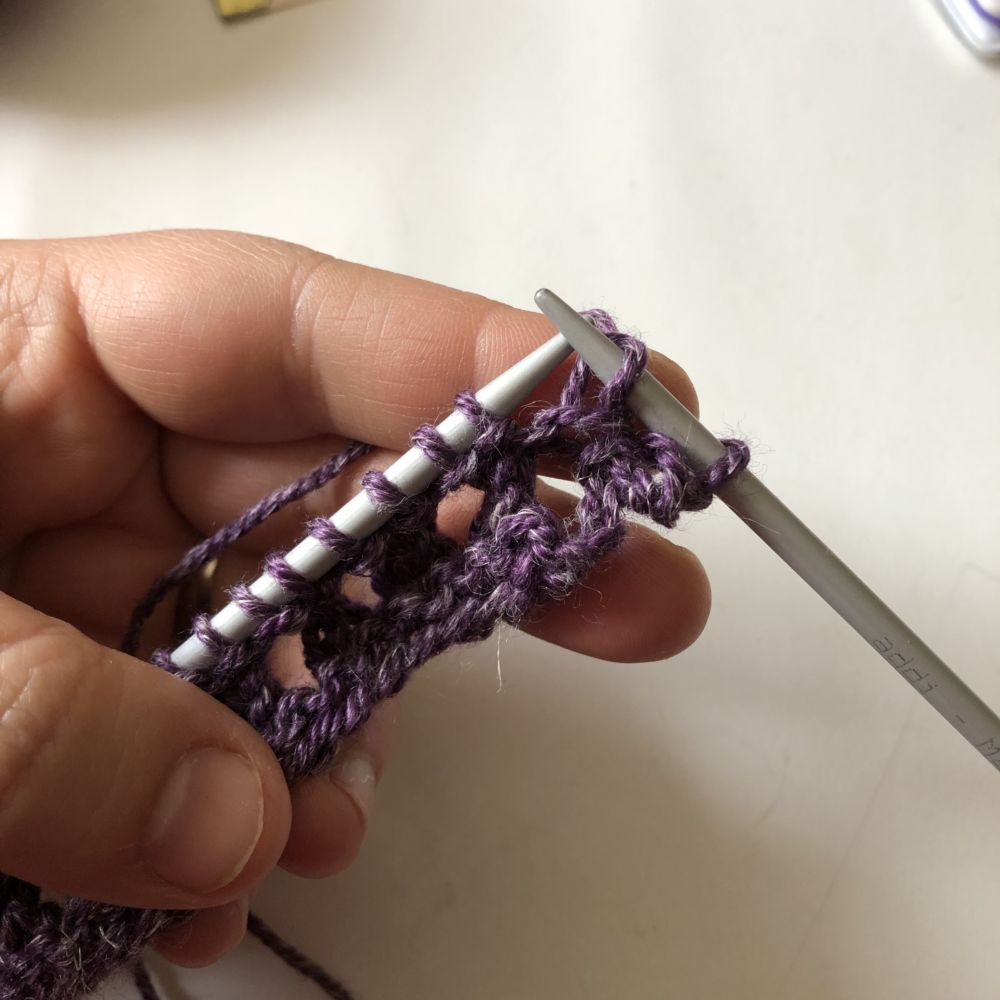
- Begin by knitting the first 2 stitches.
- Insert the left needle tip back through the stitches in front of the right needle tip (you are set up for a knit 2 together through the back loop).
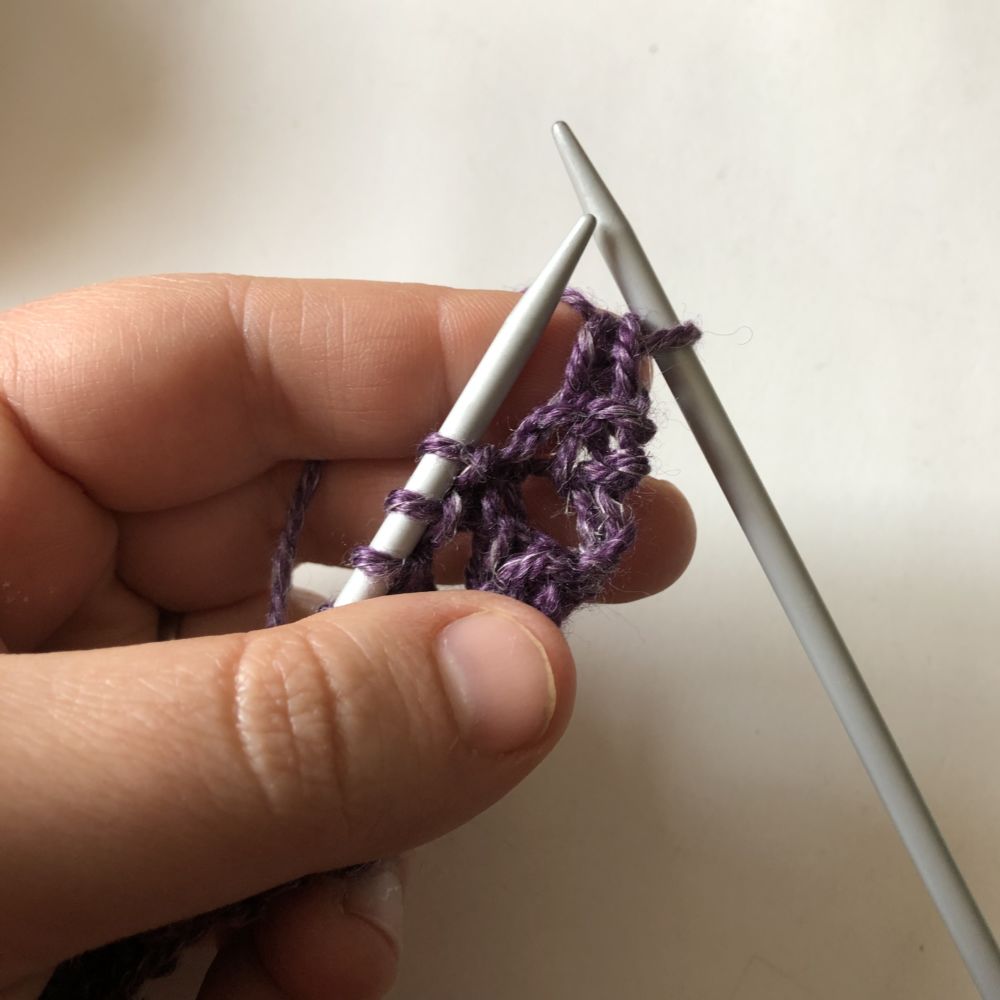
- Knit these two stitches together through the back loop.

Repeat Steps 2 and 3 until all the stitches are used.
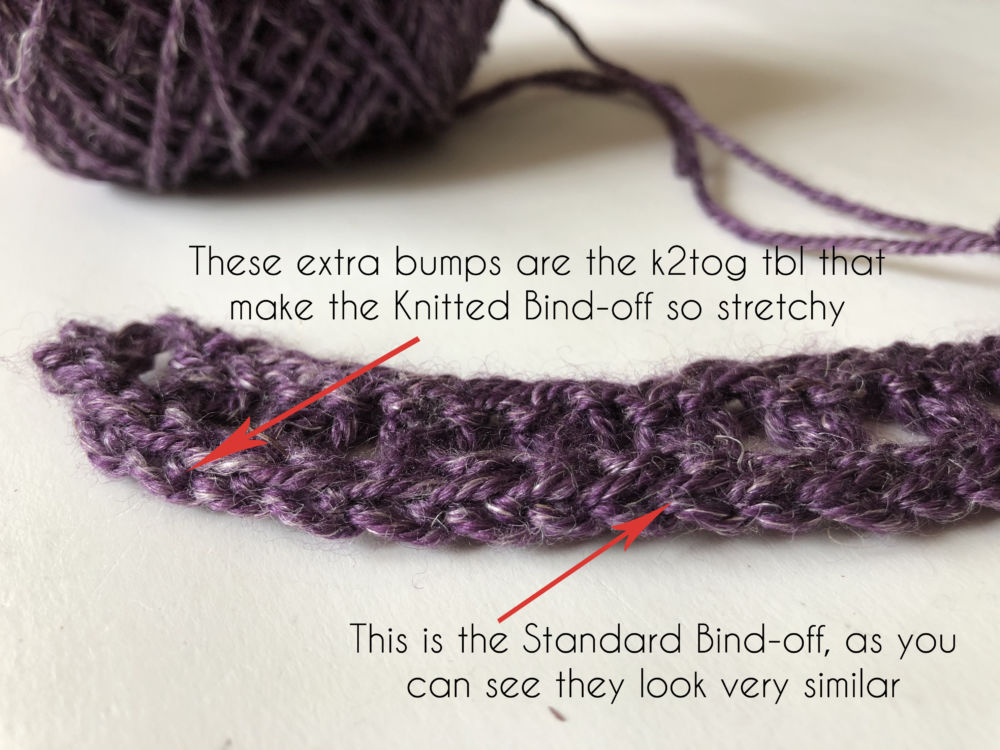
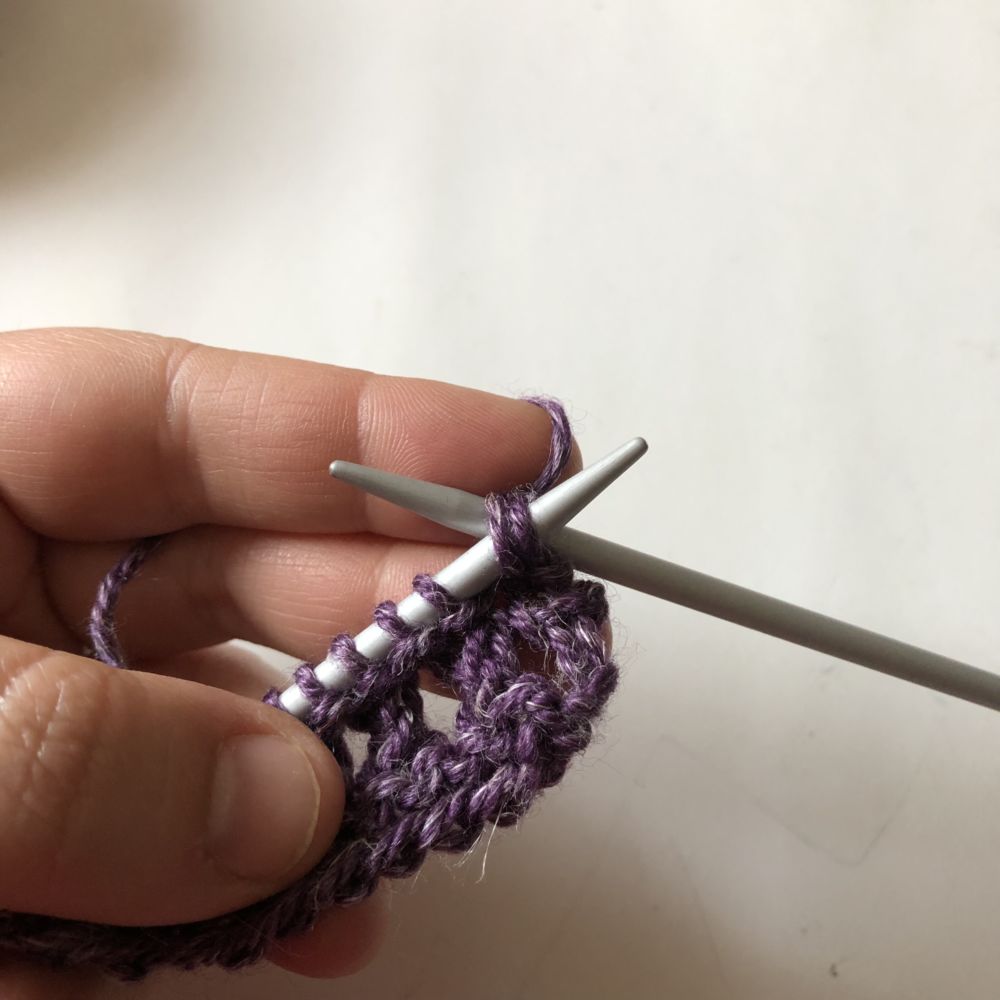
Standard Knitted Bind Off Method
If you tend to knit at about average tension (oh look! you always match gauge with the recommended needle) or you knit with a looser tension (geez, you need to use smaller needles and sometimes they fall out) you will probably fare best with the Standard Bind Off. A Standard Bind Off is not really stretchy, especially not in the Equinox called for in the pattern but it will give the edges of the cardigan stability; especially the garter stitch area. You can use the fingertip method to keep all the stitches the same size when working this bind off and use a larger needle size to make each stitch larger which will result in an overall longer bind off (but remember, not really stretchy).
Begin by knitting the first stitch onto the right needle tip.
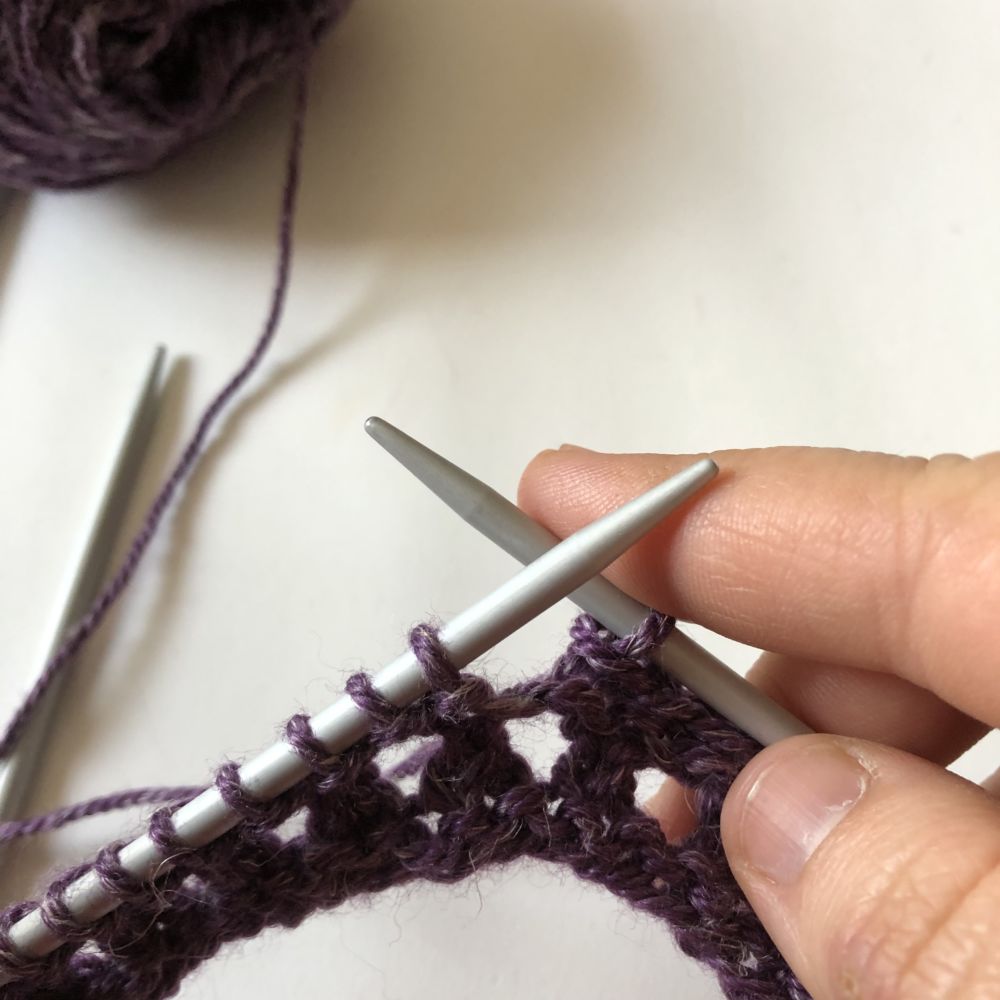
Now before knitting the second stitch place your right index fingertip between the first stitch on the right needle and the tip of the right needle, do not allow that stitch to move any closer to the tip while inserting, wrapping and pulling through the next stitch on the left tip. This will ensure that your bind off has a standard tension all the way across, exactly one finger length between stitches.
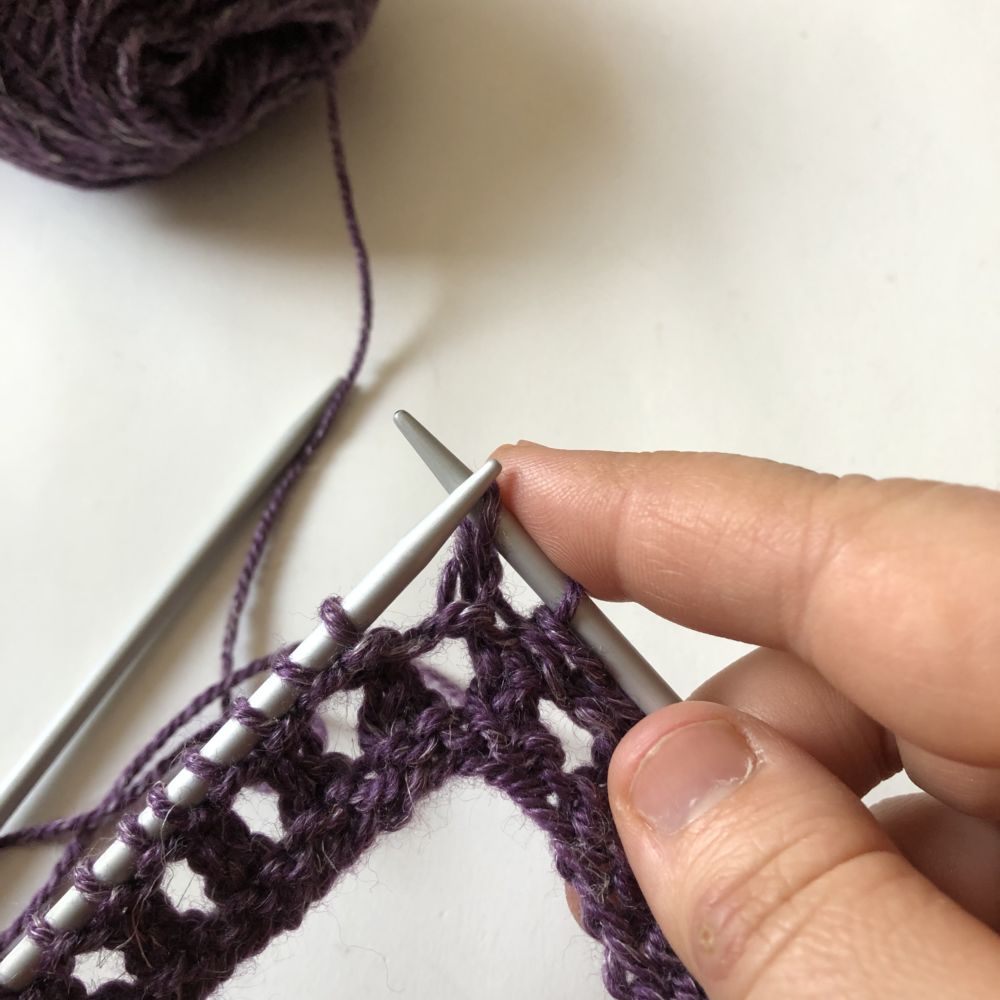
Pass the first stitch over the second without pulling tight.
You can also change to a larger needle size to create a larger loop which will make the bind off larger (but remember it won’t be stretchier).
Homework
If you would like to keep up with the steps in this knit along, then I invite you to finish the final sleeve and the front band. Lesson 6 will be available on May 24th and will contain show and tell from knitters who have finished the cardigan, including photos and notes on what they altered and how it turned out!
SHARING!!
I would LOVE to see photos of your progress on this Knit along, please share photos via Instagram using the hashtags #plymouthknitalong #rosethriftkal you can tag Plymouth Yarn using @plymouthyarn and tag me using @meghanjoneslnmp.
QUESTIONS? COMMENTS?
Feel free to leave questions and comments in the comment section of this post, I will respond to questions as quickly as possible as well as add any Frequently Asked Questions to the bottom of this post for reference.

Meghan Jones is a full-time knitwear designer who lives with her husband and 4 children in the Inland Northwest. When she is not knitting she spends her time nurturing obsessions with gardening, cooking, and sharks. You can find more of her work at www.littlenutmegproductions.com on Instagram, Facebook, and Ravelry.


Recent Comments