Cabling Tips & Tricks with the Galway Cabled Tunic
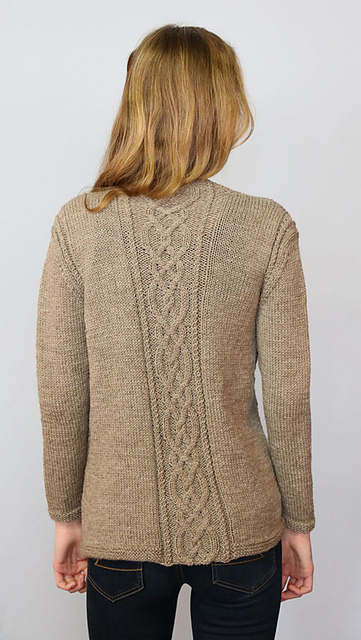
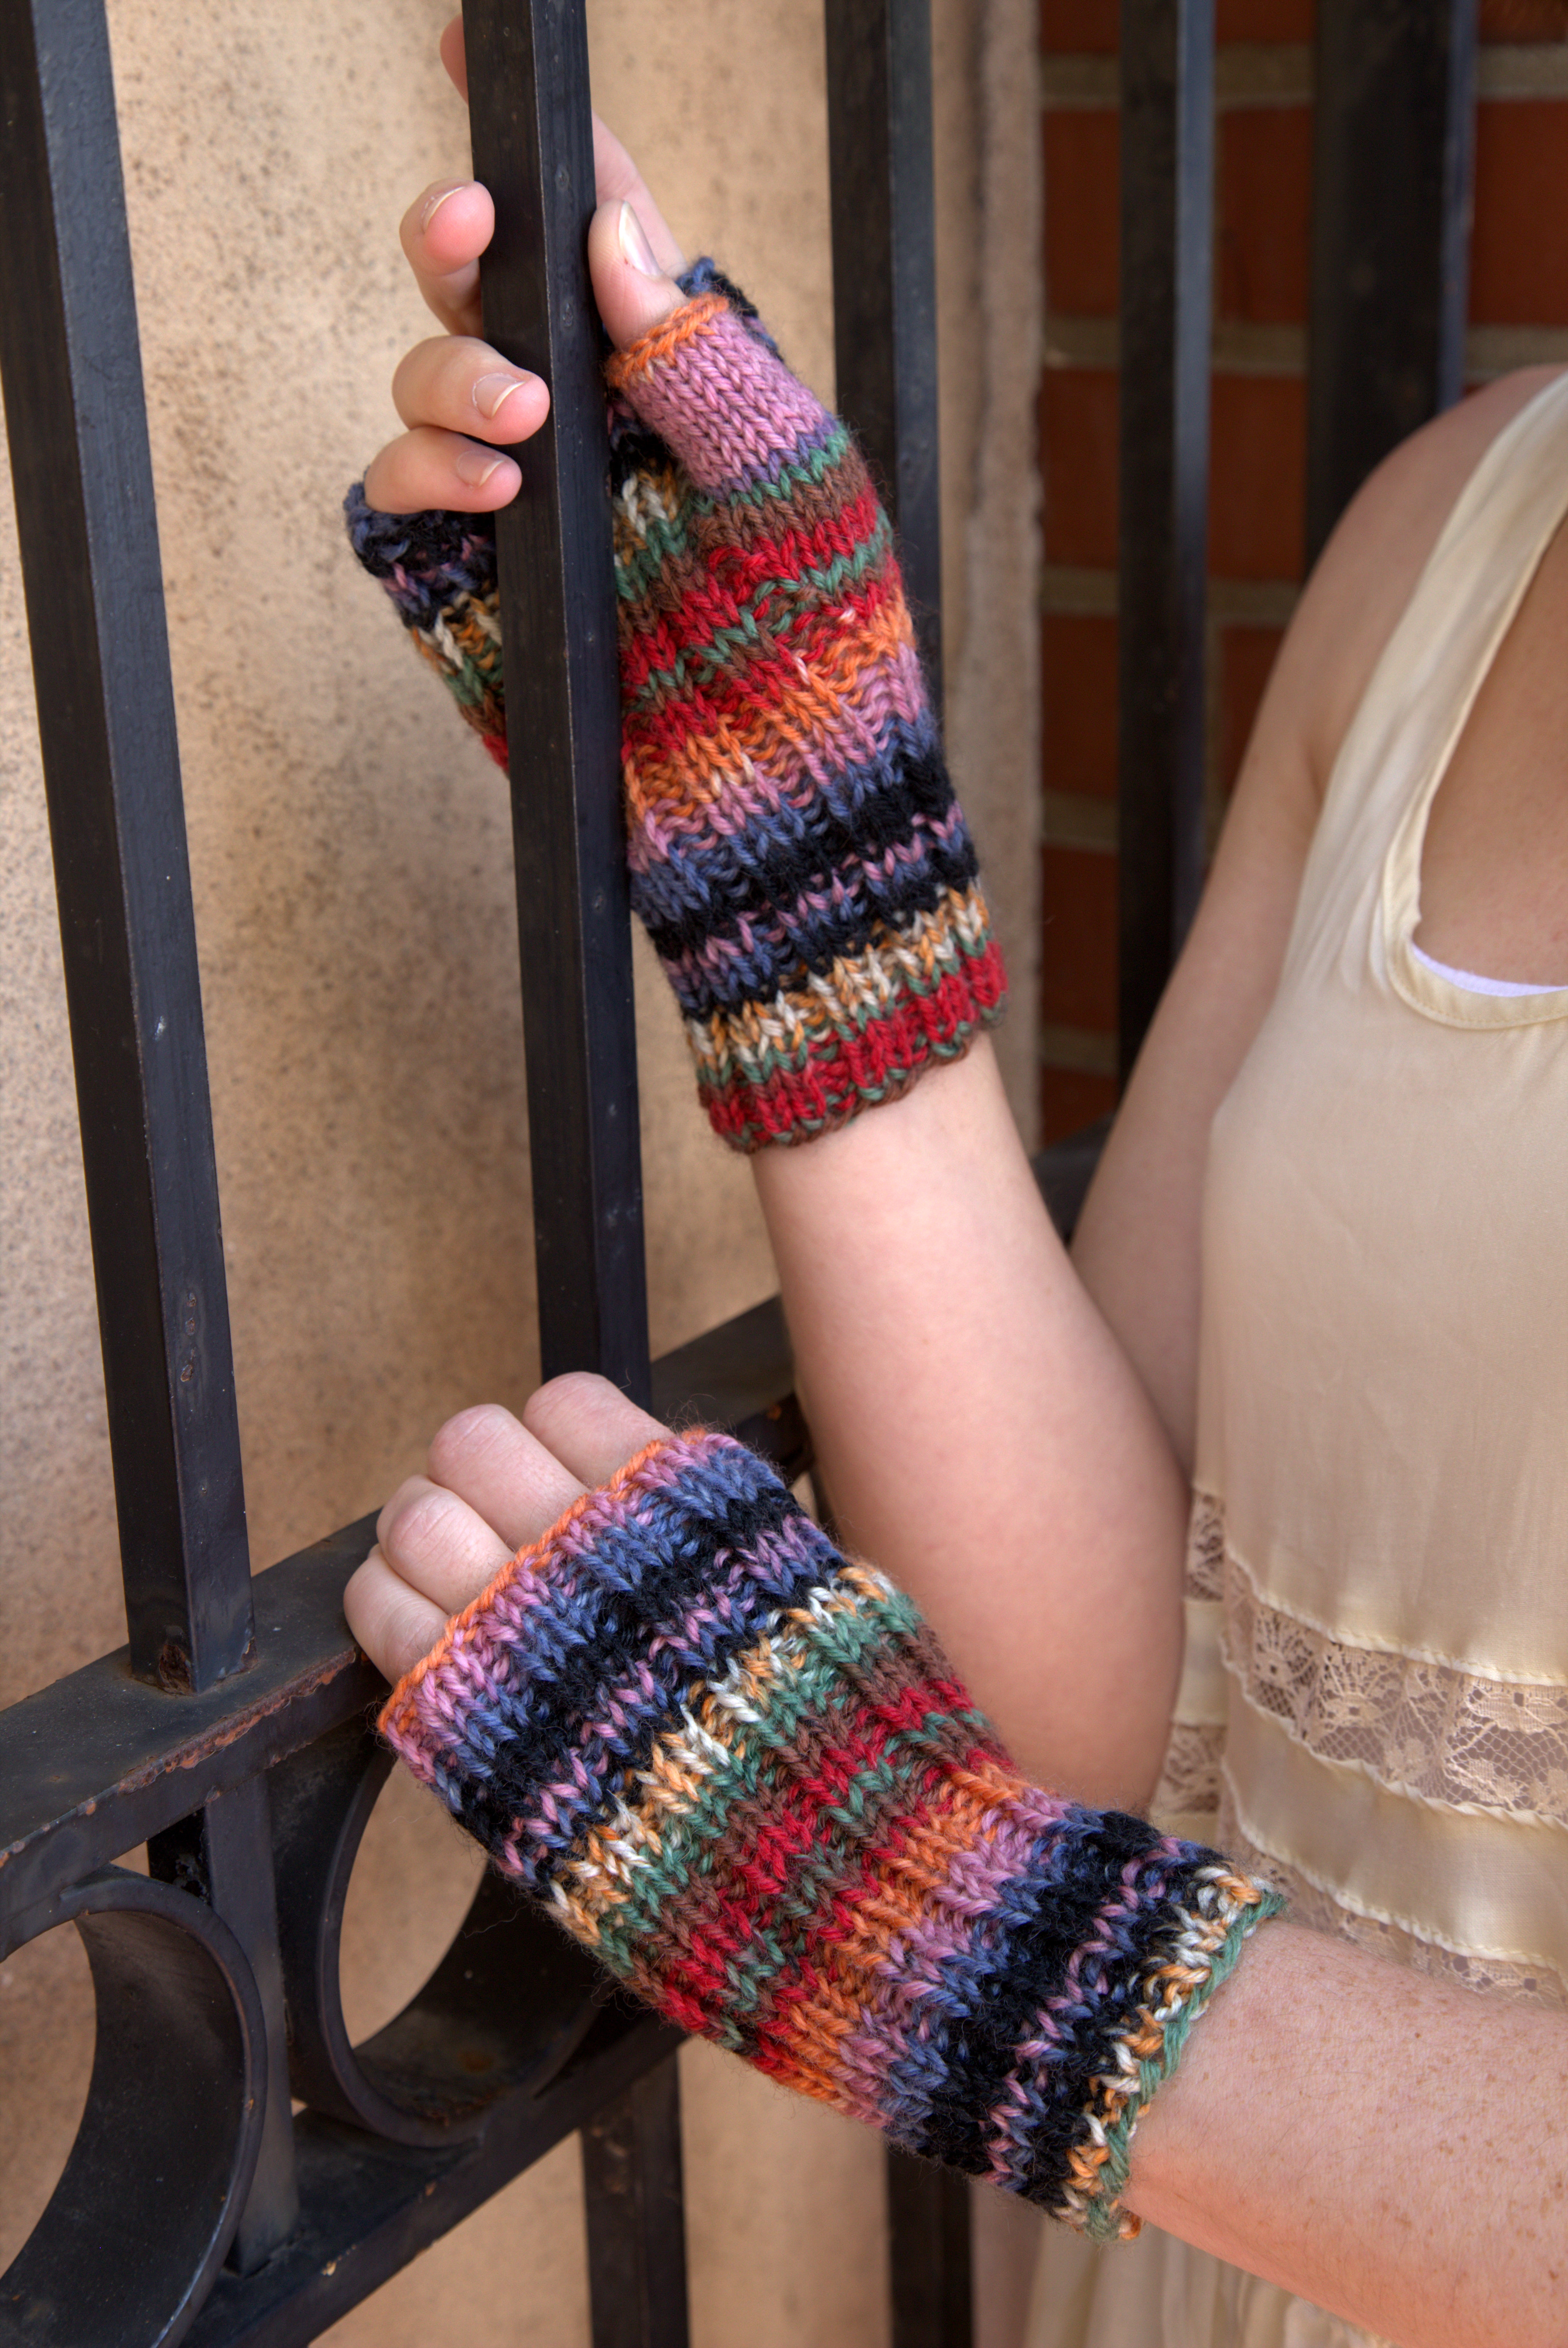
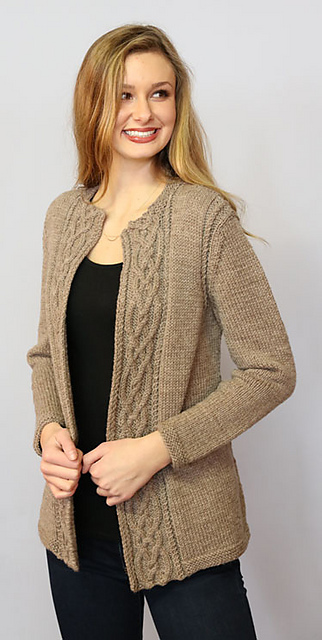 A perfect cardigan is a must-have for every wardrobe. It’s versatile, spans the seasons, and works with just about any outfit. The Tunic Length Cardigan with Cables fits the bill! It’s an open cardigan, meaning no buttons or other closures, and features beautiful cables that run the entire length of both fronts.
These are really gorgeous cable panels, reminiscent of the classic Celtic knot. A twisted-stitch frames the more intricate cable in the center of each panel; the twisted stitch is a great stitch to have in your knitter’s tool box.
To accomplish the twisted-stitch, which is sometimes called a faux cable, you knit two stitches together without slipping them off the left needle, and then you knit the first stitch of the two. Then you slip both stitches to the left needle. This action twists the stitches, making a tiny cable. It seems a little confusing the first time you work a twisted stitch, but soon it’ll become second-nature. Here’s how you work the twisted stitch:

Knitting cables is addicting. But there are a few tricks you need to know in order to be a master cable-knitter.
Pro Tips for Cable Knitting
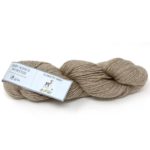
Yarn: Choose the right yarn, one that will show the cables to their best advantage—you don’t want to put in all of that work and not have the cable work shine! Galway is a great choice because it has nice stitch definition, which means the stitches show up well. I also take color into consideration when I’m choosing yarn for a cable pattern. In my opinion, light solid colors show cable work best. They can be beautiful in dark colors and variegated yarn, but lighter solids really show them off.
Loose Purl Stitches: Give the purl stitch, or whatever type of stitch is right after the cable crossing, an extra tug when you knit it. For whatever reason, this stitch tends to be loose for almost every knitter. One great way to knit a tighter stitch is to work it closer to the tips of the needles, where the needle diameter is smaller. This will make the stitch smaller, and therefore tighter, than the neighboring stitches.
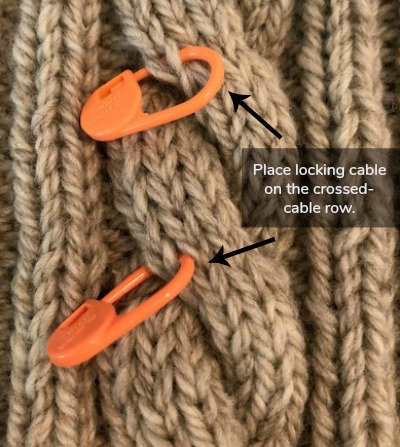
Keeping Track of Rows: Sometimes it can be hard to tell how many rows have been worked between cable crossings. One way to keep track easily is to place a stitch marker in the last stitch of the cable on your cable cross row. Move or place a new marker each time you work a crossing row. If you’re crossing your cables every fourth row, count the rows starting with the row just above the marked stitch.
The marked cable shown below is crossed every eight rows, so the marker is on row 8. Starting with the row above the marked stitch, count to seven, and the next row is the crossing row. Easy-peasy!
Blocking Cables: When steam-blocking cable projects, don’t press on the cables with the steamer head. You want those cables to pop, not flatten and blend into the background. If you’re wet-blocking a cable pattern, keep the cables dimensional; don’t over stretch the fabric.
About Cable Needles
Cable needles can be crucial tools for working cable projects, and there are so many to choose from. Find the cable needle that works for you. There are straight needles and needs with a hook on the end. The Tunic Length Cardigan with Cables recommends a cable needle with a hook, which are my favorite—I never loose stitches on this type of needle.
Choose a cable needle that’s a bit smaller than the needles you’re using for the project. The smaller size will ensure that the stitches move easily and that you don’t stretch them as you knit them off the cable needle.
If you can’t find your cable needle, use a double-pointed needle that’s a couple sizes smaller than your main needles. A 16-inch circular needle works, too; I’ve even used an orange stick from my manicure set. If all else fails, run to the kitchen and get a skewer or a toothpick!
Cabling Without a Cable Needle
After I’ve talked up cable needles, it may seem odd that I’m telling you not to use one, but I believe knitters should use the techniques that work best for them, and this is a good one to try.
When one of my friends taught me how to cable without a cable needle, I was amazed! Since then, I’ve rarely used a cable needle, unless I’m working on a cable that crosses a large number of stitches—that gets a little tricky without a cable needle. Over the years I’ve perfected the method, and I made a video that shows my process for this technique.
 Make the Tunic Length Cardigan with Cables your own with a frog closure (those cool two-part hook-and-eye closures), a few toggle buttons, or even a knitted tie. I’d use a shawl pin, myself, to make it more versatile. You could also make it a bit shorter by leaving out a cable repeat. I’m only 5′ 2″, so that would be my plan for sure!
However you choose to make this beautiful piece, it’ll be a wardrobe builder you’ll wear for years to come.
Cheers,

P.S. Do you have any cable tips to share? Leave them in the comments!


I would love to be able to get this and/or other Plymouth patterns, but I live in a rural areal and have no LYS. Help!
Thank you soo much! Great tips especially for pulling that first stitch after the cable tighter or making stitch on tip of the needle. That pearl(purl) of wisdom was worth the price of admission! I always had a smallhap there and was so frustrated by it becauae the remainder ofthe cable and atitches would come out perfectly! I am a fan! Kathleen and love Plymouth Yarns!
Give us a call in our office or drop us an email (check our website for contact info) and we can point you in the right direction